Flexible repairs • Products & Tools
What should be checked before using a patch, filler or adhesive?
A patch or filler must move with the leather, bond to the substrate and accept the planned finish.
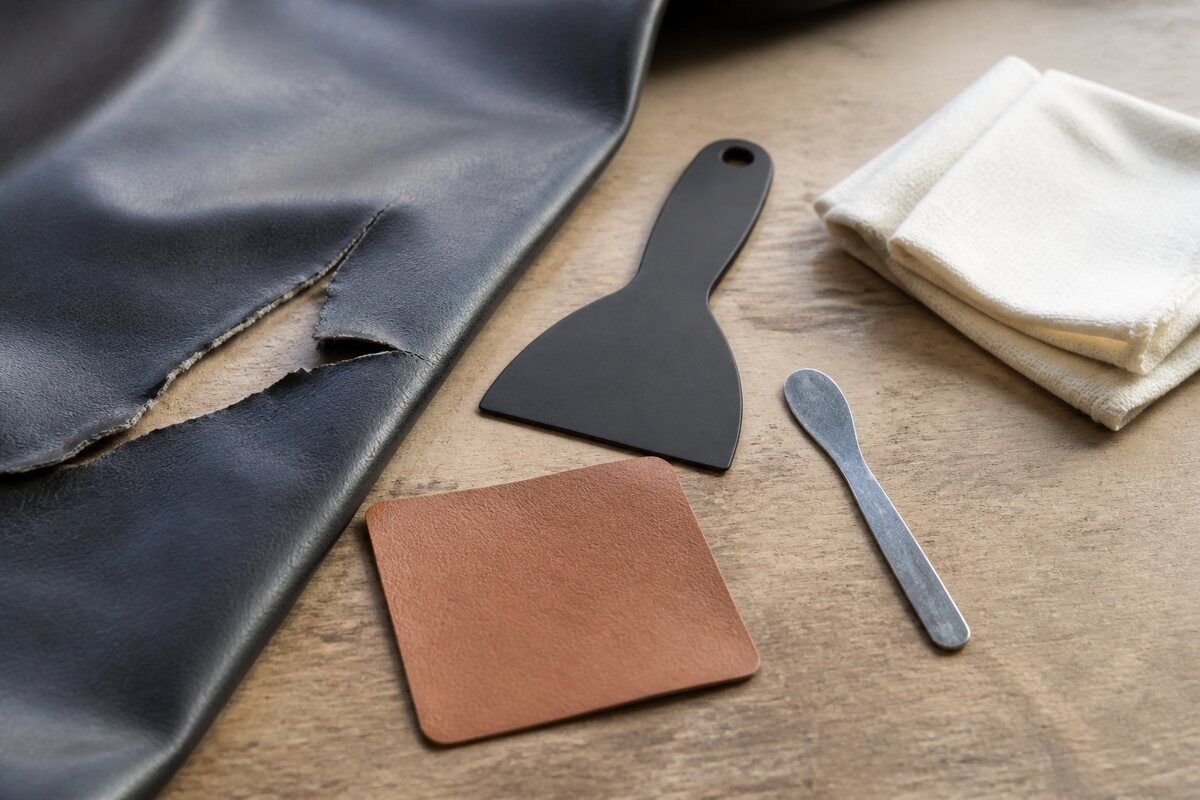
Check thickness, flex, edge transition, cure behavior and reversibility before committing. A rigid repair can turn a small tear into a visible stress line.
Use a hidden sample when possible and follow the product’s own technical instructions. The atlas can frame compatibility questions but cannot guarantee a formula across every hide.
The repair goal is a stable transition, not a thick layer that hides the symptom temporarily.
Begin with the load carried by the damage
The same behaviour shows up in another setting, described in working notes.
A patch beneath a quiet decorative panel has a different job from a repair on a seat bolster that bends at every use. Record the direction of tension, how far the edges separate, whether the tear reaches a seam and what supports the leather below. Visible length alone does not set the method. Movement, access, thickness and remaining edge strength determine whether a local repair can remain stable.
Stop using the item while the damage is being assessed. Repeated load can fray edges, enlarge missing material and contaminate the underside. Photograph the tear at rest and during ordinary unloaded flex without pulling it open. The tear-scope guide helps distinguish a stable cut from a structural panel failure before any adhesive enters the conversation.
Give patch, filler and adhesive separate jobs
A backing patch supports and bridges beneath an opening. Adhesive bonds chosen layers. Flexible filler can level a small surface loss or soften an edge transition after structure is secure. None of them should be used as a thick universal plug. If filler carries the load that backing and sound material should carry, the repair is likely to form a hard ridge or crack at its boundary.
Read the system instructions as a sequence. Some materials require specific preparation, cure conditions and compatible color coatings. Mixing a patch from one system, an unknown household glue and a finish from another creates interfaces no supplier has described. Product strength on a rigid sample is not the same as flexibility on upholstery that folds thousands of times.
Identify every surface that must bond
The visible face may be aniline leather, pigmented leather, coated split or vinyl; the underside may expose fibers, backing cloth or old adhesive. Oils, conditioners, silicone and cleaning residue can reduce adhesion. Record prior treatments and preserve a loose offcut when one exists. Do not sand or solvent-wipe an uncertain surface simply because a generic kit says to prepare it.
Use the substrate identification guide when a printed grain makes leather and vinyl look alike. Check the repair product's intended substrates and exclusions. If the system requires stronger preparation than the material identity can support, send a sample or arrange qualified inspection rather than learning on the installed panel.
Test the complete stack and finish
A useful test reproduces backing, adhesive, filler if needed, color and topcoat on a representative offcut. Let it cure for the stated time, then bend it through the expected radius. Watch the edge, feel for a rigid hinge and check whether coating transfers. A repair that looks smooth while flat can fail immediately when wrapped around a bolster.
Ask what happens if the underside is inaccessible, the tear crosses perforations or the surrounding leather is weak. In those cases a panel replacement may preserve more function than a large local build-up. Set expectations for visibility: a thin stable transition that respects grain and flex is often more credible than a thick "invisible" patch visible through a new hard contour.
Source note: Editorial method. Accessed August 25, 2026.