Tear scope • Repair & Restoration
When is a leather tear patchable?
A tear is a structural problem when its edges move apart, the substrate is exposed or the cover carries load.
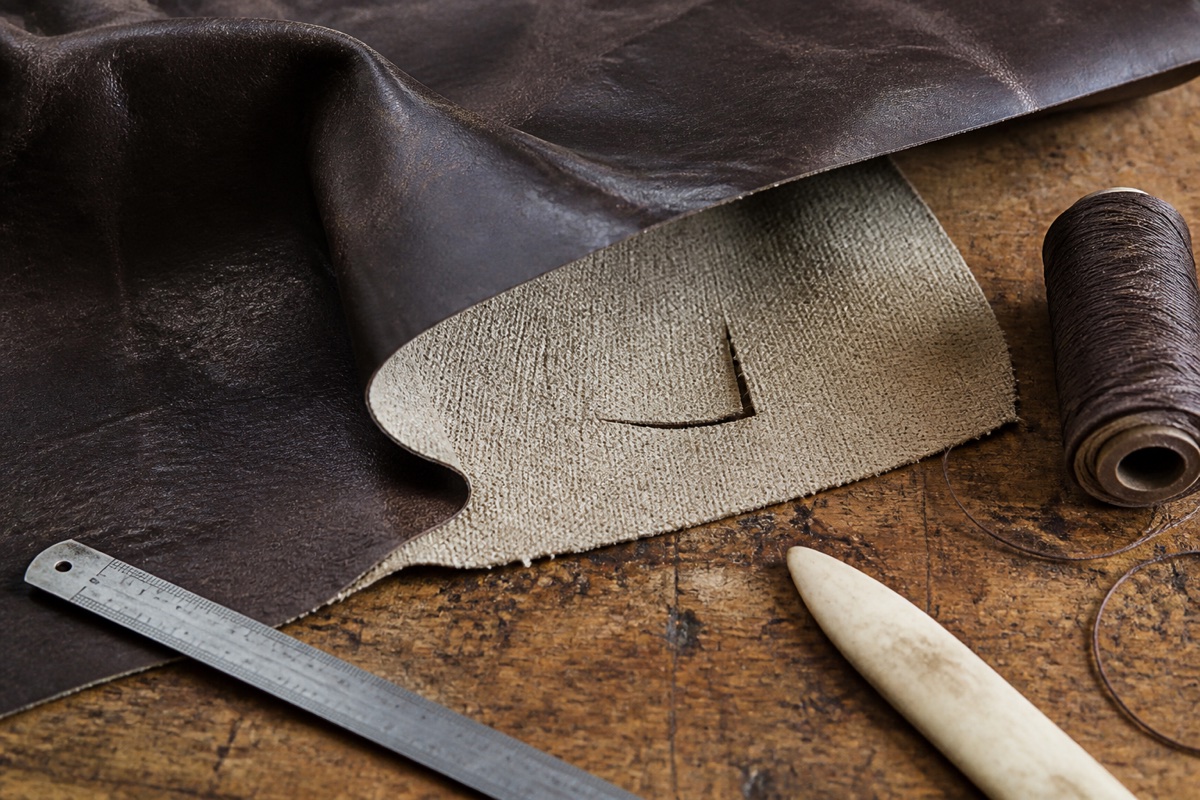
Inspect backing, seam direction, tension and the shape of the tear. A small stable split may accept a carefully planned patch; a stressed seat or cushion can require panel replacement.
The choice depends on access and flex, not just visible length. Record the underside before applying anything.
A qualified repairer can judge whether a patch will stabilize the area or simply delay replacement.
A tear is a shape under tension
The same behaviour shows up in another setting, described in tuning files changes leather.
Record whether the tear is straight, L-shaped, punctured, frayed or missing a piece. Note grain direction, nearby seams and the way edges meet at rest. A clean short cut in a low-movement panel offers different options from a jagged opening on a seat front. Do not trim fibers or pull the edges into alignment before a repairer sees the original shape.
Watch ordinary unloaded movement and identify which direction separates the tear. If sitting, opening a cushion or adjusting a seat loads the area, stop using it. Repeated tension can turn intact edges into stretched, contaminated material that no longer meets cleanly. The first intervention is often load reduction and documentation, not glue.
Backing access determines the repair path
A supported local repair generally needs a stable layer beneath the opening. Access may come through an existing cover opening, an underside or professional disassembly. Pushing an oversized patch through a narrow tear can leave folds and lumps. Cutting a new access hole creates a second repair. Let construction decide whether local backing is practical.
Use the patch system guide to evaluate substrate, adhesive, flex and cure. The backing should move with the leather and distribute stress beyond the damaged edge. Filler, when appropriate, refines the surface transition after structure is stable; it should not become the bridge carrying the panel's load.
Know when a panel is the better answer
Panel replacement becomes more credible when material is missing, edges are weak, tears branch across a loaded area, perforations complicate support, or previous repairs have created a stiff contaminated zone. A local patch can also be wrong beside an airbag seam, restraint system or critical upholstery junction. Size alone is not the decision; strength and system context are.
For furniture, the reupholstery scope helps map seams, filling and access. For vehicle seats, preserve all safety markings and obtain qualified trim advice. A replaced panel still requires grain, thickness, stretch, color and sheen integration, so it is not merely a larger patch.
Set a visible and functional standard
A stable repair may retain a faint line or grain difference. Ask whether the goal is to stop movement, reduce contrast, survive a defined use cycle or visually integrate a valued object. "Invisible" is not a measurable specification. Edge height, flexibility, color transfer and behavior under ordinary load are.
After full cure, inspect at rest and through the normal movement for that panel. Look for lifting edges, a hard hinge, new whitening or a change in sheen. Keep the method and date with the object. If movement returns, stop use before adding surface color; a failing structural layer needs diagnosis, not camouflage.
Source note: Editorial method. Accessed August 25, 2026.