Home and kitchen • Leather Care
Blogs as a Leather Care Reference
How to read home and craft blogs for leather care: verify finishes, test on hidden areas, and separate proven methods from folklore.
A blog is useful for leather care only when it states the finish, the product chemistry, and the test area.
A testable claim names a product, a concentration, a dwell time, and an observable result.
Leather sits inside a room, and the room does the damage.
What a blog can and cannot tell you about a hide
A blog is useful for leather care only when it states the finish, the product chemistry, and the test area. Read it as a record of what someone tried on a specific hide, not as a universal rule. The moment a post skips those three details, treat it as a story about a sofa, not as a method for yours.
Leather is a substrate plus a finish. The substrate is the animal skin, tanned and dyed. The finish is the thin polymer, pigment, or wax layer that sits on top and takes the wear. A blog post about cleaning a leather sofa is really a post about one finish on one piece of furniture in one climate. That is still valuable, because finishes fail in patterns, and patterns are what a reader needs.
What a blog cannot tell you is what is under your own finish. Aniline leather, which is dyed through with little or no surface coating, absorbs liquid and darkens. Pigmented and corrected-grain leathers carry a polymer topcoat that resists water but can crack at flex points. Pull-up leathers are oiled and waxed, so they lighten when stretched and darken when rubbed. A post that says "wipe with a damp cloth" is safe advice for a pigmented hide and risky advice for an aniline one.
This is why the useful blogs are the ones that describe the object before the method. A French home and craft blog such as household maintenance guides tends to write from the object outward: what the piece is, what it is made of, what the household already owns. That order matters more than any single recipe.
Which claims in a blog post are testable?
A testable claim names a product, a concentration, a dwell time, and an observable result. "Use saddle soap" is not testable. "Dilute one part saddle soap in twenty parts water, work it with a horsehair brush for thirty seconds, wipe with a dry microfiber, and let it dry away from heat" is testable. You can run it on the back of a cushion and look at the result in daylight.
Untestable claims usually arrive as absolutes: never use water, always use vinegar, this one product fixes everything. Leather care has few absolutes because the variable is the finish, not the cleaner. Vinegar is a mild acid that can dull a wax finish and leave a smell in a porous one. Water is fine on a polymer topcoat and problematic on raw aniline. Neither is universally right.
A practical filter: if a post does not tell you where to test, it has not told you how to work. The test area is the back or underside of a cushion, the inside of a chair skirt, or the underside of a seat. Apply the method there, wait a full day, and compare under the same light. If the test area looks duller, darker, or tackier than the rest, stop.
How do you separate leather care from general home maintenance?
Leather sits inside a room, and the room does the damage. Sun through a window fades dye and dries the finish. Radiators and underfloor heating pull moisture out of the hide and accelerate cracking at seams. Dry indoor air in winter does more harm to a leather sofa than most cleaning products. A blog about home maintenance is often more useful for leather than a blog about leather, because it addresses the conditions rather than the surface.
That is the case with French-language home and kitchen writing aimed at beginners, where the recurring subjects are light renovation, small energy savings, and everyday cooking. Window insulation before the heating season, refreshing tile grout, repainting old furniture without sanding: these are all moves that change the humidity and temperature a leather piece lives in. A reader who insulates a drafty window is also slowing the drying cycle that cracks a seat.
Humidity is the number to watch. Most finished leathers are comfortable between 40 and 60 percent relative humidity. Below that, the finish loses plasticizer and the hide shrinks slightly, which is why old sofas crease at the same points year after year. Above that, mold becomes the risk, especially on aniline and suede. A cheap hygrometer costs less than a tin of conditioner and tells you more.
When does a leather project become reupholstery?
Reupholstery begins when the substrate fails, not the finish. Finish problems are surface problems: scuffs, dull patches, light cracking in the topcoat, color loss along armrests. Substrate problems are structural: torn seams, stretched or broken webbing, compressed foam that no longer springs back, a frame that rocks, or leather that has torn through at a stress point.
A useful test is the press test. Press the seat with your palm and release. If the foam returns within a second or two, the core is sound and the issue is cosmetic. If it stays compressed, or if you can feel the frame through the cushion, the piece needs work below the leather. Cleaning and conditioning will not fix that, and no product will.
There is a middle zone: cracked finish at a flex point, where the topcoat has separated but the hide is intact. This can be stabilized with a flexible filler and a color-matched topcoat, but it is a repair, not a restoration, and it will show under raking light. A blog post that claims a full invisible repair from a bottle is describing a photograph, not a sofa.
What does a beginner actually need on hand?
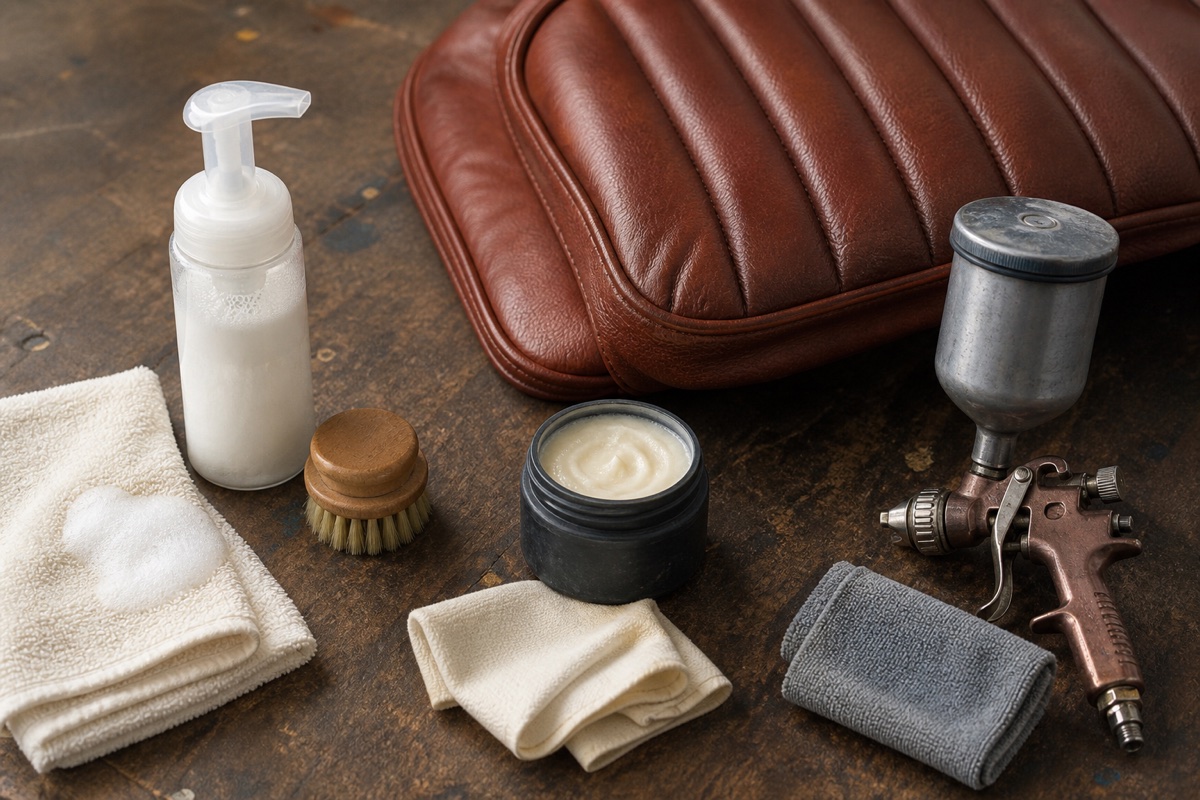
Four things cover most situations. A soft horsehair brush for dust and for working cleaner into grain. A neutral pH cleaner, diluted as the label says, for finished leather. A dry microfiber cloth, used in a second pass to remove residue. And a hygrometer, to know whether the room is the problem.
Conditioner is optional and often overused. On a pigmented hide, the topcoat already blocks most absorption, so conditioner sits on the surface and attracts dust. On an aniline hide, a light oil or wax product can help, but too much darkens the leather permanently. Apply less than you think you need, on a test area, and wait a day.
Avoid alcohol, acetone, bleach, and abrasive creams on any finished leather. Avoid saddle soap on aniline, because the fats in it can stain. Avoid silicone-based polishes, which leave a film that traps grit and dulls the finish over time. None of these will destroy a hide in one pass, but repeated use shows up within a year.
How should you read a blog post before you follow it?
Read for the object first. Does the writer say what kind of leather, what age, what climate, and what the piece is used for? A daily-use family sofa and a decorative chair in a spare room age differently, and the advice should differ too.
Then read for the stop condition. Good instructions tell you when to stop: when the cloth comes away clean, when the color stops lifting, when the surface feels dry to the touch. Bad instructions tell you to keep going until the result looks right, which is how finishes get stripped.
Finally, check whether the post is selling something. A method that requires one specific product is a product page, not a method. A method that names a category, a dilution, and a test area is something you can adapt to what is already under your sink. That is the difference between reading a blog and following a recipe, and it is the only difference that matters when the hide is yours.
Source note: Editorial method. Accessed August 25, 2026.